Custom redirects in Pardot are a powerful tool that can be used to create trackable URLs. By using a Pardot custom redirect, you can easily produce a report that displays everyone within your Pardot database that has clicked on that link. You can also view the total number of clicks that the link has received.
One of the main benefits of using custom redirects is that you can add a completion action to them. This means that when a user clicks on that link, you can specify what action you want to occur. For instance, you might want to alert the assigned user for a prospect that one of their prospects has clicked on the link. Alternatively, you may want to add the prospect who clicked on the link to a Salesforce campaign. Using completion actions in this way is a powerful way to automate your marketing efforts.
Custom redirects can be used anywhere that you want to track your marketing, such as social posts, email campaigns, website pages, YouTube videos, Facebook, Google Ads, and more. By using custom redirects, you can gain valuable insights into your marketing efforts and streamline your overall marketing automation process.
How to setup a Pardot custom redirect
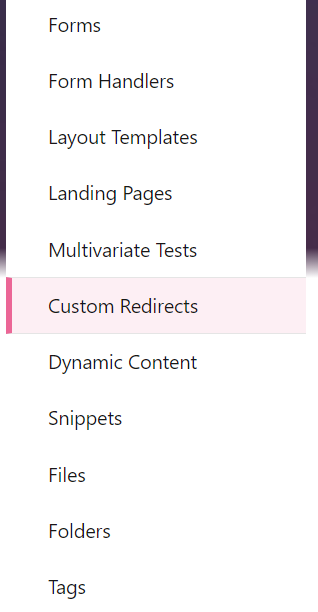
Start by clicking on Content in the menu.

Next select Custom Redirects from the side menu.
Now click on the blue + Add Custom Redirect button to begin setting up your custom redirect.

Now give your custom redirect a name and add it to an appropriate folder and campaign. You will also need to enter the destination URL. This is that original URL that you are creating the custom redirect for.

Once you have entered the Destination URL, you can choose to create a Vanity URL. It can be a good idea to create a Vanity URL, as you can use something that will be concise, memorable and easily recognisable by your users.

Add your completion actions
The last step is to add your Completion Actions. This is what you want to have happen when the link is clicked. There is a wide variety of potential completion actions, as the example below shows, you could use completion action to adjust prospects score upward by 30 points after they click the link. You can also have that prospects assigned user notified that they have clicked the link.
One of the most powerful ways to use completion actions is to automate your email marketing. For example, you could create a custom redirect for a link to a particular product landing page. When a prospect clicks on that link you understand that they are interested in that particular product. You could then create a custom redirect which adds them to a pardot list specific to that product. Off the back of this could be an engagement studio which sends them a sequence of emails providing more information about that product, offering discounts, case studies and testimationals. For higher value products this is an excellent way of automating your sales process.

Finally when you have entered all of the details click on the blue Create Custom Redirect button.

Pardot custom redirects reporting
Pardot custom redirect report allow you to view both the number of clicks on the link and the specific prospects who clicked. To look at the report first click on the custom redirect that you want to track. Then click on the View Report button in the top left. This will open up your pardot custom redirect report.

You can select the timeframe that you want to look at from the Date Range drop down. If you don’t want a specific date range, then leave it as the default all time.
Under this you will see the Stastics for both Total Clicks and Unique Clicks. Unique clicks records only the first time someone clicks on the link. Total clicks record this first click, plus any subsequenct clicks.

Finally at the bottom you can see the Prospects that have clicked on the link. You can choose from the View which types of prospect you want to see, such as only mailable prospects. You can also use the Filter to quickly identify a particular prospect.
